
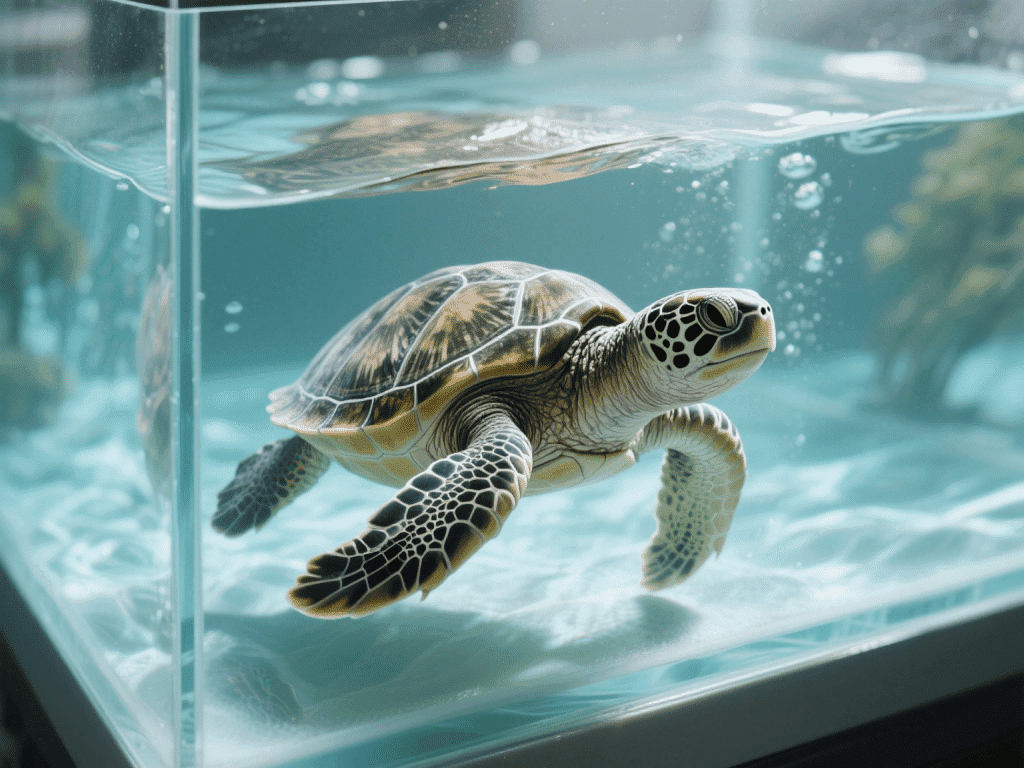
Aquatic turtles are notorious for producing copious waste. In my role consulting reptile specialty stores, I’ve tested dozens of filter setups. These best practices ensure your turtle’s habitat stays pristine.
1. Choosing the Right Filter
– Canister Filters: Offer superior mechanical, chemical, and biological filtration—aim for a flow rate 5× your tank volume per hour.
– Sponge Filters: Augment oxygenation but can’t handle heavy waste alone. Use in tandem with canisters.
– Hang‑On Back (HOB) Filters: Acceptable for small turtles but require more frequent media changes.
2. Establishing Biological Filtration
Cycle your tank for at least 4–6 weeks before adding turtles. Introduce beneficial bacteria via “starter” media or pure cultures to convert ammonia → nitrite → nitrate.
3. Monitoring Water Parameters
Test weekly for:
Ammonia/Nitrite: 0 ppm (toxic even at 0.25 ppm)
Nitrate: < 40 ppm (change water if over)
pH: 6.8–7.4 for most species
4. Partial Water Changes
Replace 25–30% of water weekly, using dechlorinated or aged water at matching temperature (78–82°F). Sudden shifts shock your turtle’s shell and immune system.
5. UVB and Heating Integration
Mount UVB lamp above basking area and ensure at least 80% of the water surface receives filtered UVB penetration. Maintain basking temperature at 90–95°F, water at 78–82°F.
6. Preventing Algae Overgrowth
Control light exposure—10–12 hours daily. Introduce live plants (anubias, java fern) to compete with algae for nutrients. Conduct gentle manual algae removal during water changes.
7. Cleaning Filters Safely
Rinse mechanical media in tank water (never tap water) during water changes to preserve beneficial bacteria. Replace chemical media (activated carbon) monthly.
8. Recognizing Water‑Quality Stress
Watch for lethargy, loss of appetite, shell discoloration, or skin lesions—these often precede shell rot or fungal infections.


